Prior to my 2013 trip to
Yosemite National Park, to hike a half loop of the Yosemite High Sierra Camps, I looked for several weeks attempting to find a pair of vegan shoes that would meet my needs. While quality shoes for vegetarians have become much more common in the last several years, finding a true pair of hiking boots was not so easy. At one point, I became so frustrated that I (very briefly) debated breaking down and purchasing a pair of traditional leather boots by Asolo or Vasque.
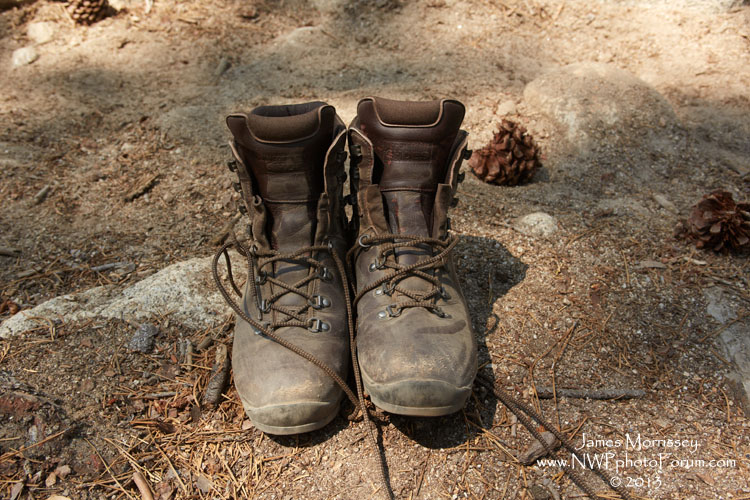
Enter the Veggie Trekker, Mark IV, by Vegetarian Shoes. On paper, it was everything I was looking for in a non-leather boot. Features included:
1. Tough, durable and breathable Micro Fiber Uppers.
2. One piece upper pattern with bellows tongue.
3. Dual density Vibram soles.
4. Riveted D-ring laces fasteners with locking lace hook.
5. Insulated throughout.
6. Stiff insole for rigidity.
7. Internal water-proof and breathable membrane lined.
I purchased the boots from Vegan Essentials, an on-line company. My first experience opening the box was very positive. At over 3 pounds, these boots are big and sturdy. The Vibram sole is also really nice and rigid. For the nearly $250 price tag, they had better be. :P The one change that I almost immediately made was by removing the factory insoles and replacing them with a pair of SuperFeet.
I was pretty happy to note that the boots were made in Italy, where people are generally paid a decent wage for their work.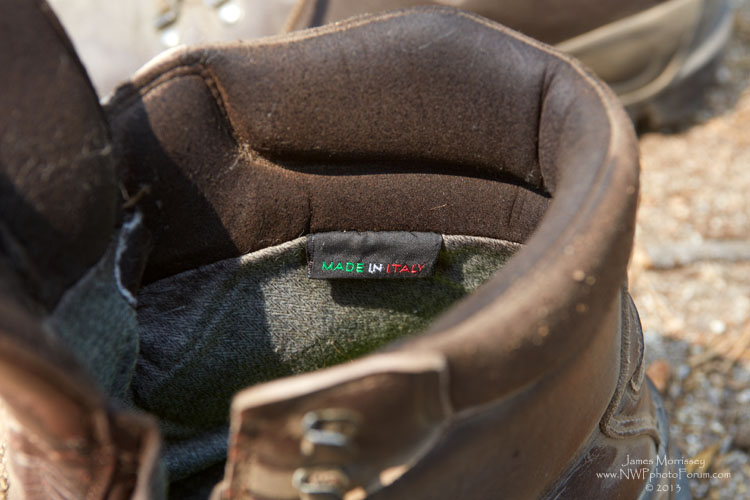 These boots feature a chunky Vibram Sole.
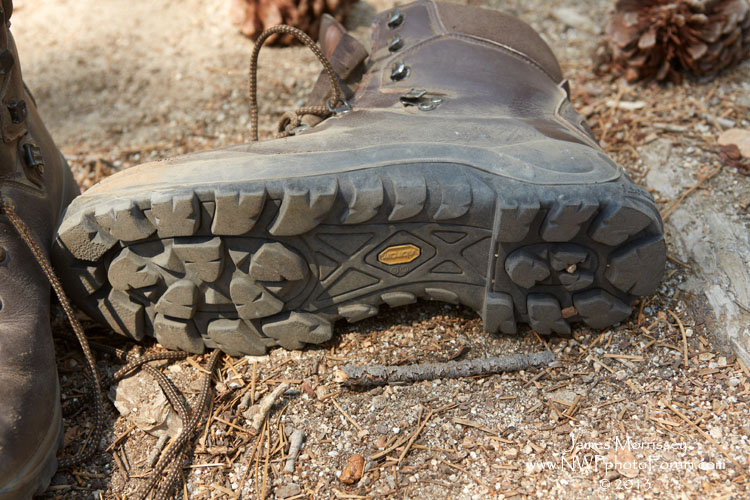
I wore the Trekkers pretty much every day for nearly two months prior to the hiking trip, walking as far as I could every day in them. The purpose of this was to help acclimate my feet to the boots and avoid shin splints prior during the trip. Shin splints are a lot more debilitating then even the worst blister and not so easily fixed on the trail.
I had the opportunity to wear them outside walking the dog in the rain on a few occasions, so I had the opportunity to test their water fastness. I would call these boots water resistant, as opposed to water proof. Shelpping in the high wet grasses of the park near my apartment, there was just enough moisture that was able to get into the boot that I opted to Nik Wax the boots prior to the trip. The Nik Wax did the job and I did not have any water issues during the 4 days and 30+ miles of the actual hike.
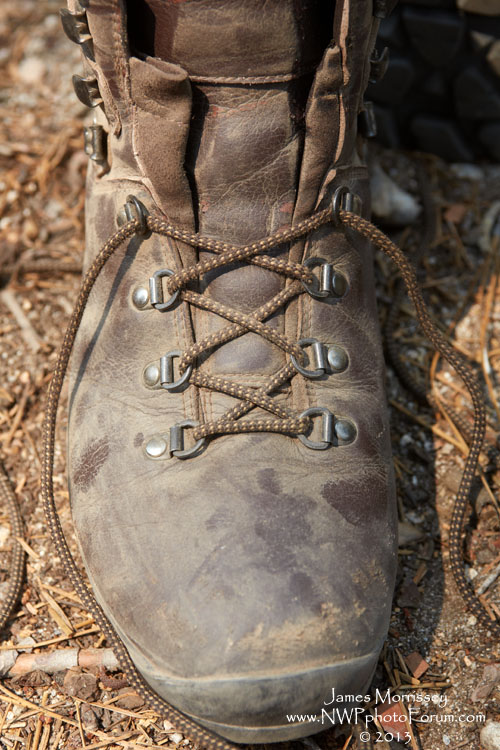
One thing that I learned during the trip was how to lace the boot. It is important when tying the laces of the boot that the heel remain 'locked' in the boot. Having your shoes properly tied is very important to your long-term comfort while hiking.
This image shows me pulling the laces on the first two lugs of the boot. This allows me to tighten the tow box.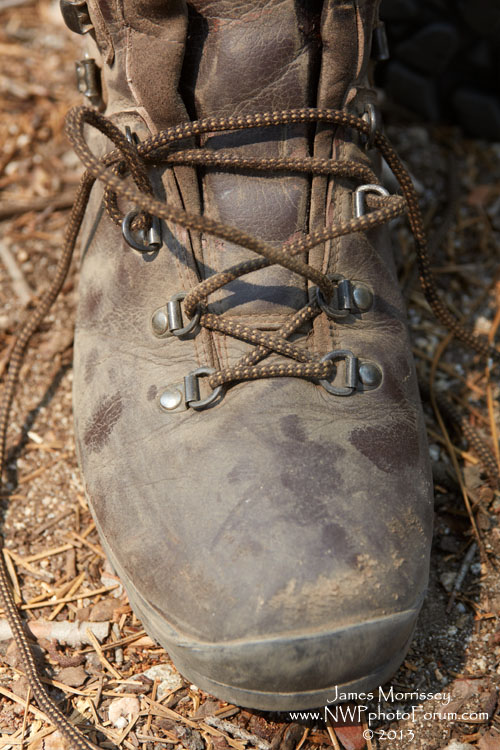 This next image shows me continuing to pull the lugs down to hold the foot in place.
 See how tight the laces are in place?
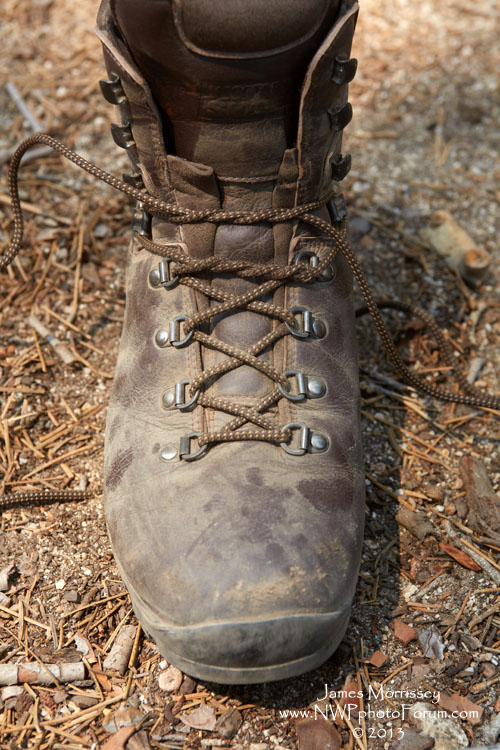
 This image shows something called a "Hiker's Knot." It is an extra loop that one makes when tying the lace that helps prevent any slippage.
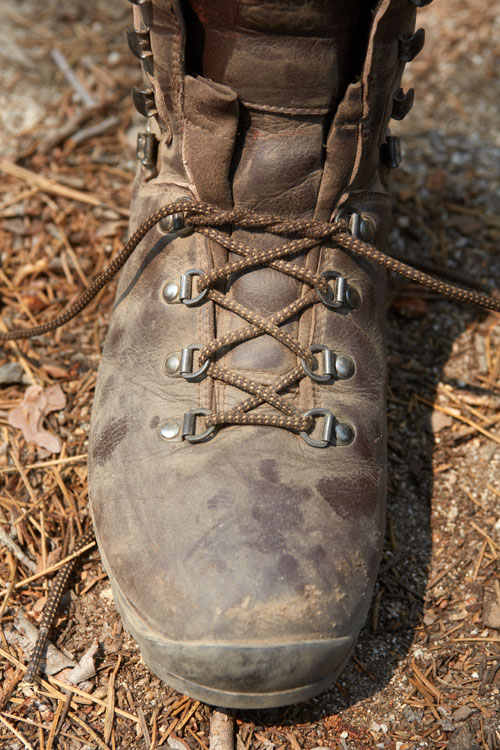 A second hikers knot is employed to really help ratchet down the foot into place on the shoe. With both knots held tight, I found that my entire foot strike was altered.
 It is amazing.
 Some people employ a third hikers knot here. I did not find it was necessary and kept the laces just slightly loose at the top.
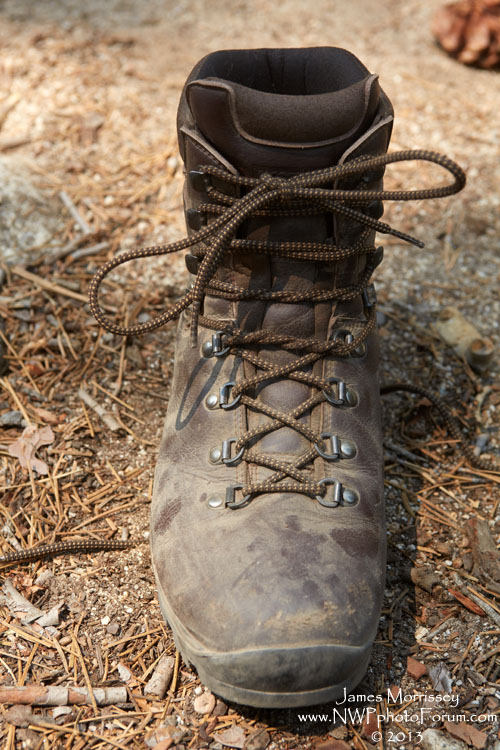
Conclusion: I really liked wearing these boots and will definitely be using them in the future on other hiking expeditions. After several months of use around town and over 30+ miles in 4 days, they really have shown how durable they are. They were worth every single penny, and I would not hesitate to purchase a second pair or to recommend them to a friend. If after reading the review of these boots you would like to see some photos from the adventure, please click
here. -James


